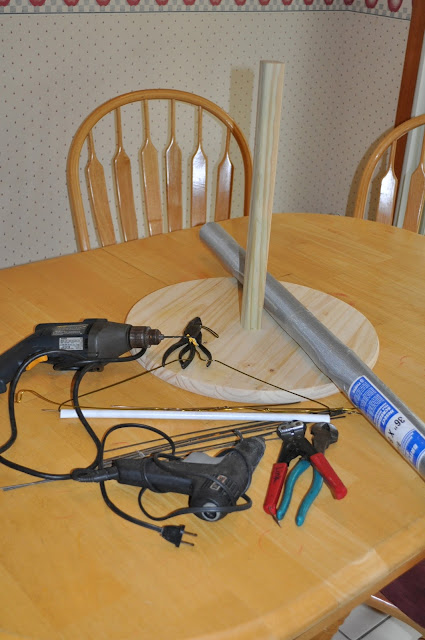
I love Easter decorations, but what do you do with those hanging eggs? They're always so heavy and the only Easter trees I've seen in the store are these wimpy little things that look like they'd collapse under the weight of one egg. In fact, I have a box of very pretty glass Easter eggs that I bought about 10 years ago, but I've never used them because I could never find strong enough tree to hold them. This year, after working with metal screening for the school play and seeing how versatile it is, I decided to make my own STURDY Easter tree. By the way, you can purchase ALL of this stuff (except the wire hangers) at Home Depot.
First, I purchased a circle of wood from Home Depot. As soon as I saw it, I knew it would be perfect. It was about $5.49. I gave it to my dad and asked him to attach a piece of wood to the center of it for the trunk of my tree. (See the one screw in the bottom? Simple! Well, for my dad, anyway, but I'm sure you could do it, too. Thanks, Dad!)
We used a 1x1" instead of a round dowel because I thought the flat sides would be easier to staple the screening to later. Oh yes, I was right!!
Next, I found some wire coat hangers, straightened them out and cut them into long strips for the branches. I drilled holes at angles into the top of the trunk so I could attach the top of the tree.
Then I drilled more holes at angles along each of the four sides of the 1x1 for the branches. Again, I was so glad I used the flat sided wood instead of a dowel. I would have definitely drilled a finger otherwise! I had to drill some holes a few times to get the angles I wanted, but no big deal - the extra holes will be covered up in the end.
I hot glued the end of each piece of wire on the end before I stuck it into each hole I had drilled. Each one set after just a minute or two.
So far, all of this took maybe 45 minutes.
Next, I attached extra branches to each main branch. This took quite a bit longer. I folded a piece of wire in half, or in a lopsided half, for support on the main branch.
Then I bent each of the branches back into position depending on the angle I wanted. Once I had the right configuration, I duct-taped each set of smaller branches onto the main branch.
When they were all attached and all the "holes" were filled, I wrapped each branch with wire screening, stapling it to the trunk in the center, and taping it with duct tape on the other end.
Finally, I attached a thick strip of screening to the tree's platform and ran it up the tree, cutting slices in the sides where it ran into a branch. I stapled where I could, and duct-taped the rest. Did I mention that duct tape is amazing? I probably could have covered this whole tree in white duct tape and called it done, but I really want the extra sturdiness that a layer of plaster sheets will give it.
Look for part two in a few days. I want this done before Easter!


No comments:
Post a Comment